
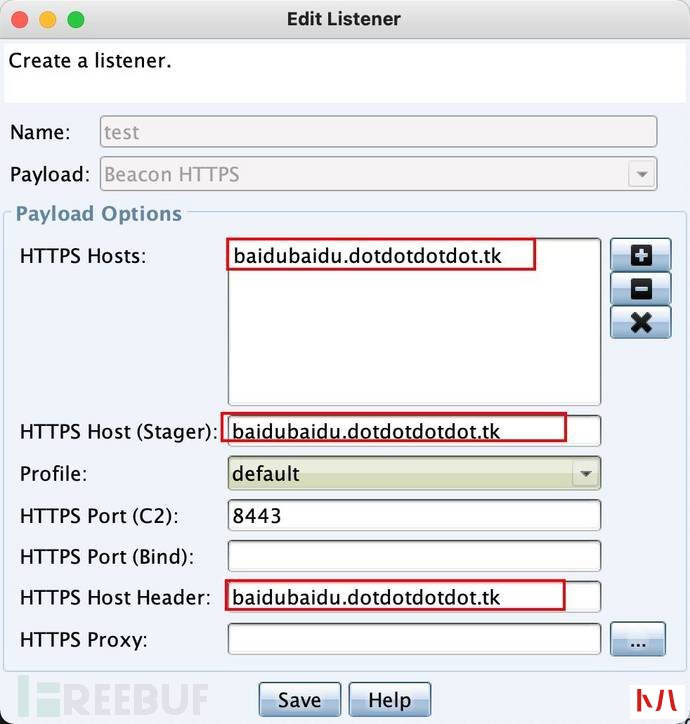
要想使用我们自己申请的证书,这里就需要使用‘Malleable C2 profile’的方式来操作。这里以cloudflare.profile为例。将生成的密钥文件.store放到cs目录下,想cloudflare.profile加入证书配置:
其中需要注意的是https-certificate为证书相关的配置,其他client.header中Host的值要为我们申请的域名,其他的部分,根据个人情况去配置。
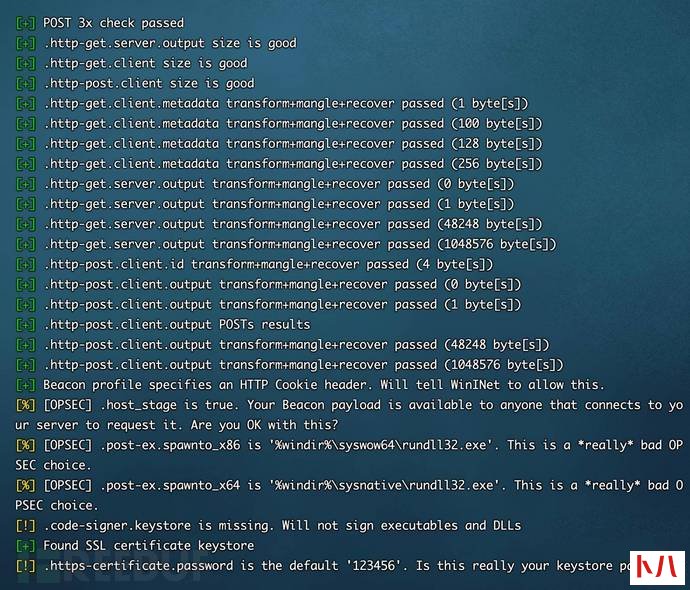
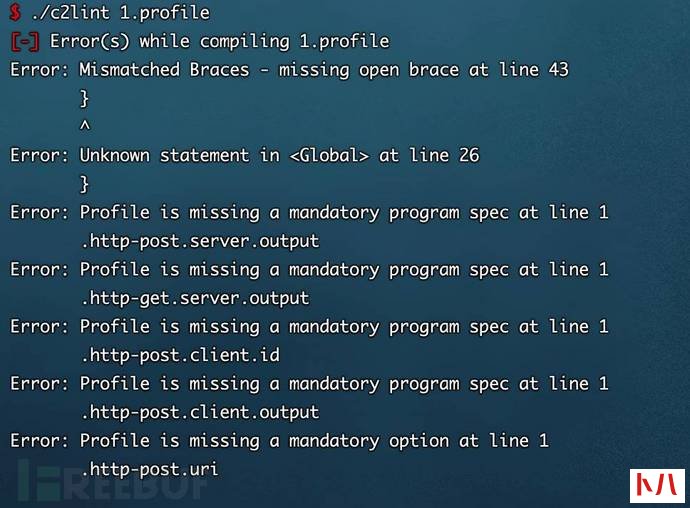
使用命令"./c2lint cloudflare.profile"去验证配置文件是否有问题。如下为验证成功的配置。
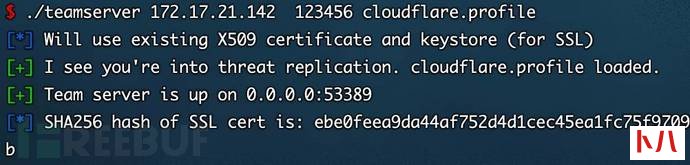
./teamserver 172.17.21.142 123456 cloudflare.profile
2.5 配置文件生成仓库
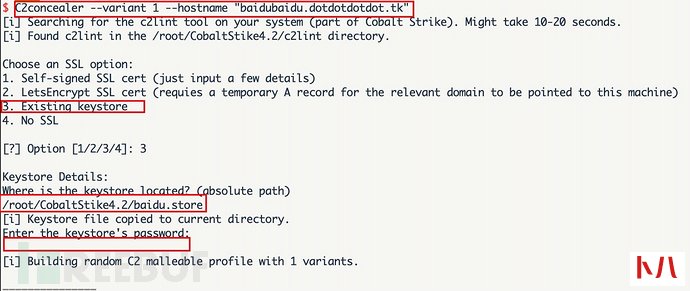
github上有一个仓库,可以用于生成c2配置文件,如果使用此种方式需要在木马生成部分的备注,不然可能会导致木马无法上线。
使用方式:
baidu.store就是baidubaidu.dotdotdotdot.tk.store为了方便就改了文件名。
之后使用生成后的profile文件启动服务器即可
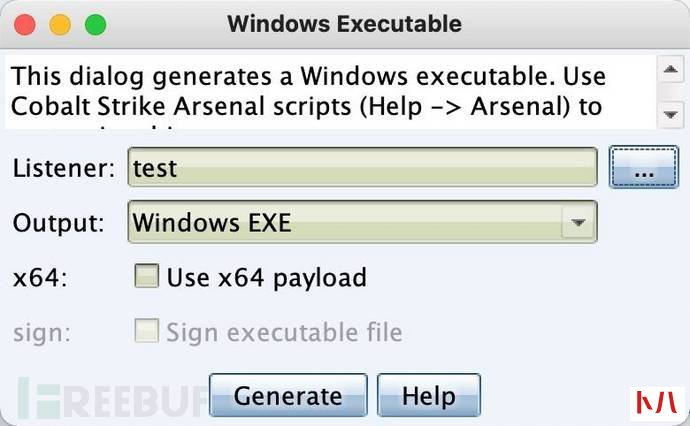
2.6 生成木马配置
作了如上的配置,在生成木马时需要做一些不一样的操作。
**注意:**免费版本的cloudflare支持解析少量的端口,具体端口如下
http:
80、8080、8880、2052、2082、2086、2095
https:
443、2053、2083、2087、2096、8443

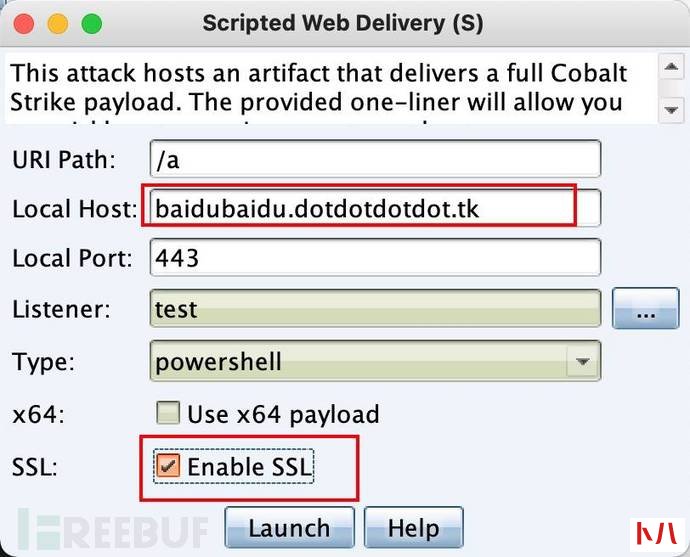
powershell的上线方式与以前有些许不同。需要启动ssl证书。
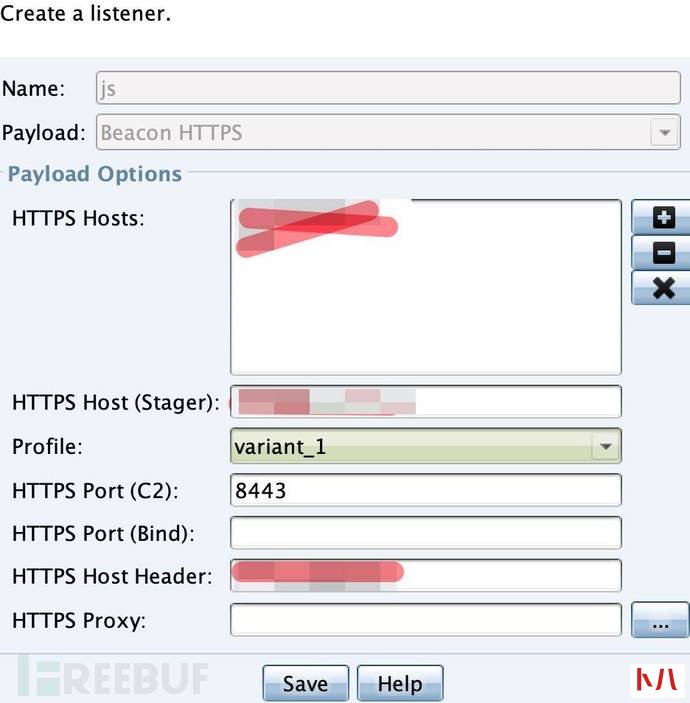
备注:如果使用C2concealer生成profile,需要配置listener时在profile中选择variant_1才行,不然可能会导致无法上线。
三、写在最后


 移动4g网络接入点设置方法...
  1 设计原则 l 实用性 :系统设计根据大楼规划有的放矢,从实际需要出发,注...
  应用背景: 随着科技的进步,人们对于会议室的功能和效率的需求也在不断提...
  问题1:K8S集群服务访问失败? 原因分析 :证书不能被识别,其原因为:自定...
  . 设计原则 l 实用性 :系统设计根据大楼规划有的放矢,从实际需要出发,注...
  7日杀局域网的联机教程步骤图...
  确认wan接口和公网IP 登录锐捷睿易NBR路由器找到,系统首页--接口连接状态确认公网IP 和接口名称 设置端口映射 依次...
  1 设计原则 (一)高可靠性原则 所有的主干和水平均采用双路走线,备有冗余...
  一卡通系统架构示意图 应用背景: 一卡通系统是在满足现代化管理需求前提下...
  1. 需求分析 1.1 无线零售发展概况 最近几年,电商对传统零售的冲击越来越大...
  系统概述: 智能建筑模式的建立本身就是要通过系统集成的手段来实现,通过...
  今天从WiFi连接的原理,再结合代码为大家详细的介绍如何利用python来破解WiFi。 Python真的是无所不能,原因就是因为Python有数目庞大的库,无数的现成的轮子,让你做很多很多应用都非...
  一、模块化数据中心概述 模块化数据中心方案,是当今行业中主流及领先的应...
  工具 一台具有NFC识别功能的手机 一张饭卡 MIFARE Classic Tool_v2.1.0.apk 安装软件...
  0x00 前言 上周五,xray社区公众号发布xray高级版更新公告, 新增 shiro 插件,...
  天清汉马USG防火墙怎么设置端口映射,这里我们以映射smtp端口为例演示。 确认网络IP 登录天清汉马USG防火墙,找到系...
  郑重声明:文中所涉及的技术、思路和工具仅供以安全为目的的学习交流使用...
  WebGoat8是基于Spring boot框架开发,故意不安全的Web应用程序,旨在教授Web应用程...
  WebGoat8系列文章: 前情回顾 数字观星 Jack Chan(Saturn),再会篇为Java代码审计入...
  网络安全只与大公司和机构有关的时代已经过去了。如今,每个人都可能成为网络攻击的潜在受害者,而不管他们的银行账户的状况和财务资源如何。 重要的是要意识到目前影响技术的...
 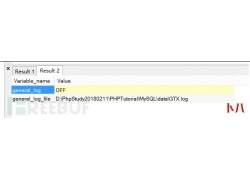 MySQL除了自身带有的审计功能外,还存在着一些其它的审计插件。 虽然遇到这...
  渗透 测试自动化是白帽子和各家公司一直在解决的一个课题,BurpSuit是渗透测...
  局域网共享设置权限server2012r2文件共享权限设置方法...
  系列文章: 内网 渗透 测试:隐藏通讯隧道技术(上) 什么是隧道? 在实际...
  近期收到一些装修业主吐槽电工的网络知识(网络确实不是电工和设计师的专长)。错误的网络布置方案成本过高,性能不佳,用着还不稳定、不方便。这里统一提供合理高效的解决方...
  今天分享的Writeup是作者在目标网站漏洞测试中发现的一种简单的人机身份验...
  bypass disable function 是否遇到过费劲九牛二虎之力拿了webshell,却发现连个sca...
 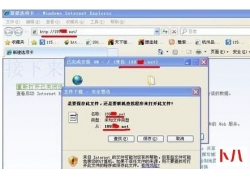 用电脑无法打开手机网站怎么办...
  1、补码的特点 补码、移码的0表示惟一。在计算机系统中,数值一律用补码来...
  郑重声明:文中所涉及的技术、思路和工具仅供以安全为目的的学习交流使用...
  教你轻松解决Win7系统经常获取不到IP地址问题...
 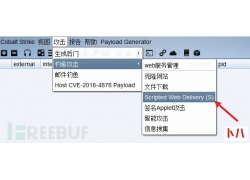 上一章讲到 邮件服务器的搭建和使用 ,那么这章就具体讲解利用方式。 在大...
 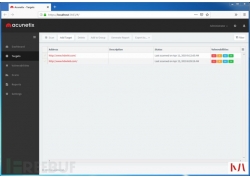 最近在刷CTF的题,遇到一道使用HDwiki5.1作为背景的Web题目,解题思路是利用...
  周一早上刚到办公室,就听到同事说有一台服务器登陆不上了,我也没放在心上,继续边吃早点,边看币价是不是又跌了。 不一会运维的同事也到了,气喘吁吁的说:我们有台服务器被...
  呼叫转移设置网络异常怎么办...
  a)应启用安全审计功能,审计覆盖到每个用户,对重要的用户行为和重要安全...
  本篇文章主要介绍WAF的一些基本原理,总结常见的SQL注入Bypass WAF技巧。WAF是...
  a)应启用安全审计功能,审计覆盖到每个用户,对重要的用户行为和重要安全...
  根据现有检测机制,来对服务器进行隐藏,增加c2服务器被检测到的几率。...
  前言 我们辛辛苦苦拿到的 Webshell 居然tmd无法执行系统命令: 多半是disable_...
  如何打开Edge浏览器的数据库文件...
  最近在学习代码审计,就想着拿个CMS来练练手,然后选择了MetInfo5.3.19,来一...
  前言: 各位FreeBuf观众的姥爷大家好,我是艾登——皮尔斯(玩看门狗时候注册...
  1、文中所涉及的技术、思路和工具仅供以安全为目的的学习交流使用,任何...
  在开始菜单中选择 运行 或者 win+r 同时按呼出运行 输入 gpedit.Msc 呼出本地策略组编辑器 双击计算机配置 Windows设置 安全设置 IP安全策略 右键空白处,选择 创建IP策略 根据指示点击 下...
  很久之前就想总结一篇SQL注入及其更深一层的 渗透 方面的笔记了,奈何一是...
 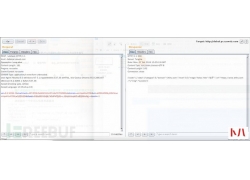 国产浏览器往往基于Chrome浏览器开发,在带来新功能的情况下也带来了新的安...
  最近在准备找工作,有一家公司给我发来了这样一条消息,于是有了这篇文章...
  无线网络的概念是什么...
  使用 Shell 脚本在 Linux 服务器上能够控制、毁坏或者获取任何东西,通过一些巧妙的攻击方法黑客可能会获取巨大的价值,但大多数攻击也留下踪迹。当然,这些踪迹也可通过 Shell 脚本...